Take Great Home Photos the Easy Way — 5 Tips From a Pro
As a professional interior photographer for magazines and books,
I've learned a few simple tips that can make a huge difference in
helping you take better photographs of your home's interior or design
project. Little things like using a tripod, shooting from straight on
and avoiding wide-angle lenses can take you a long way toward standard
practices that many professional photographers use every day.
Along with the tips, you'll find examples that offer inspiration for your own home photos.
Along with the tips, you'll find examples that offer inspiration for your own home photos.
|
1. Use a tripod. Putting
whatever camera you have on a tripod allows you to steady the camera and
be more deliberate in making your composition. With a digital camera,
you can take a quick test shot and review it to make adjustments for the
final shot. First, adjust the overall composition and what is in the
frame by moving the camera or changing the lens — it really helps if
your camera is on a tripod. Make the next adjustments by changing or
moving the furnishings and objects in the room so they are most pleasing
in the photo.
|
|
2. Take low shots. One
really important compositional consideration is how high the camera is
off the ground. I like to shoot with my camera about 40 inches off the
floor. When your camera sits lower than eye level, your photos will look
more like those you see in magazines.
|
|
3. Shoot straight on. Try
to set your camera straight and not tilt it up or down. When you tilt
the camera, the vertical lines in the photo get distorted, which won't
look professional. For a strong composition, shoot straight onto an
elevation of a room or building. To do this, you want the camera sensor
to be parallel to your subject. The result is often a more pleasing
photo that has a nice, graphic feeling.
|
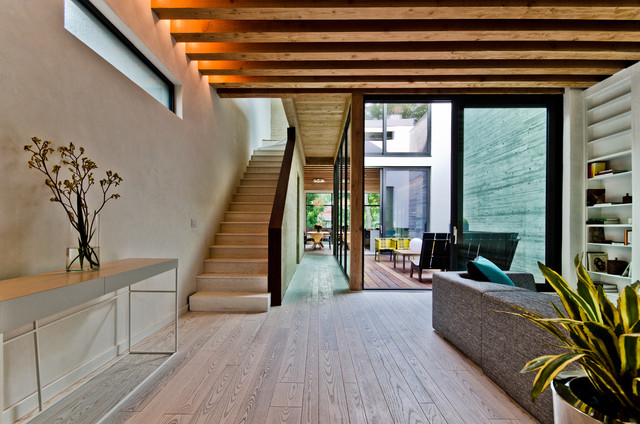
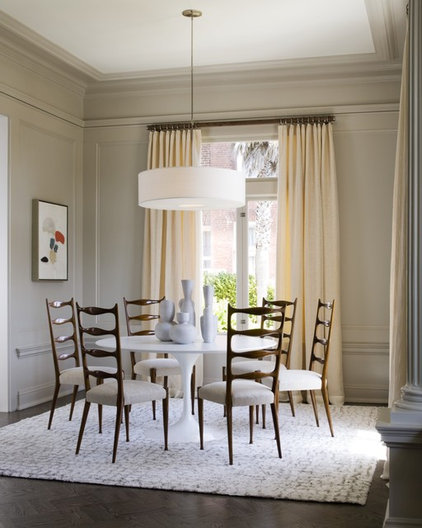
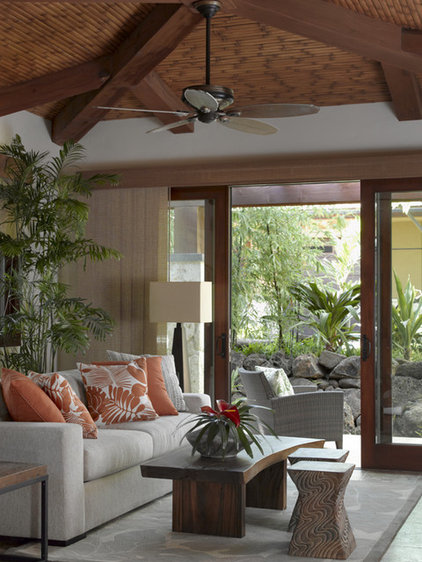
If you are centered on the room or
subject, the symmetrical balance will make the photo feel very
grounded. This shot has a nice straight-on view and a low camera
position.
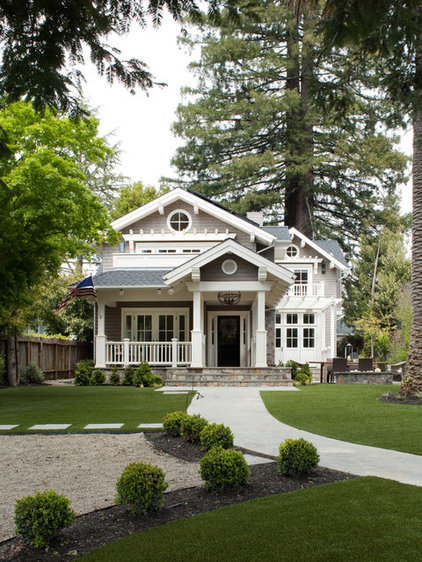
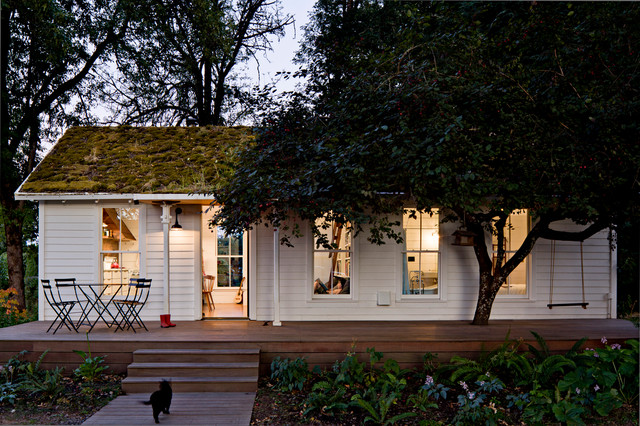
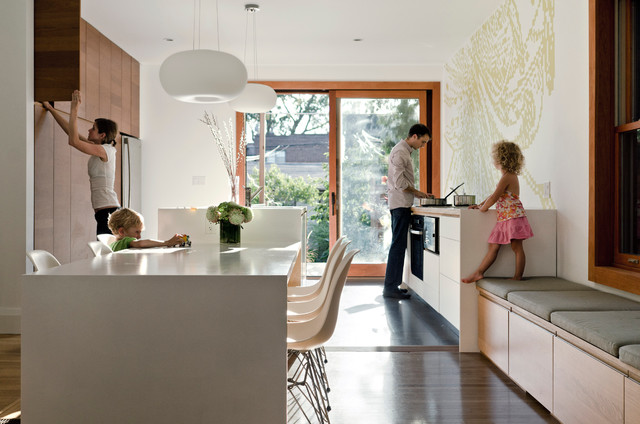
This is a good example of nice
movement framing the home. The camera is parallel to the house, but the
center point is more to the right. The photo feels balanced by the
strong vertical of the center tree.
4. Avoid wide-angle lenses.
This is slightly counterintuitive. A wide-angle lens makes items close
to the camera appear larger and items far away appear smaller. This
distortion feels unnatural. Instead, use a normal lens and step away
from your subject to get as much as you can into the shot. I often
prefer getting less in a shot by using a normal lens, rather than
resorting to using a wide-angle lens and getting the distortion that
comes with it.
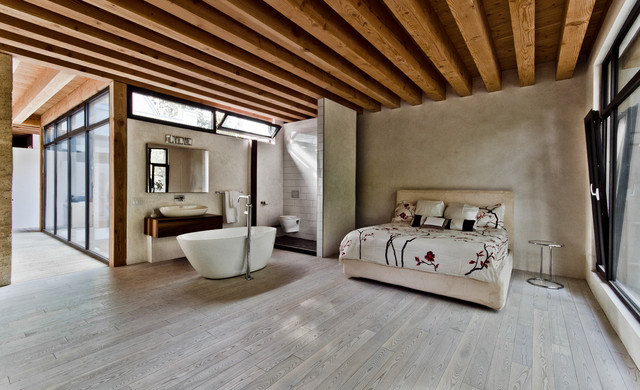
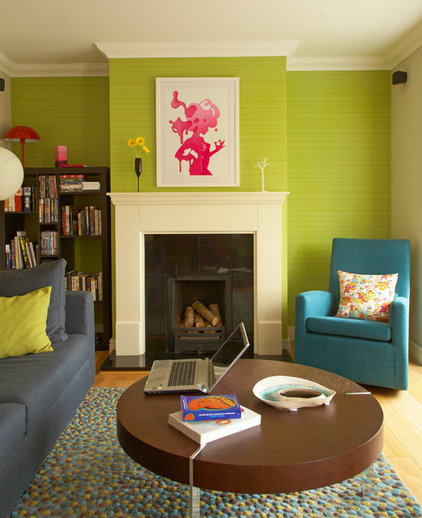
Standing back and using a lens with
a normal focal length and not a wide angle puts all the items in a
comfortable proportion to one another. There is no distortion that a
wide-angle lens would create. Of course, the trade-off is that we do not
see the whole room, but we do get a nice feeling of the room.
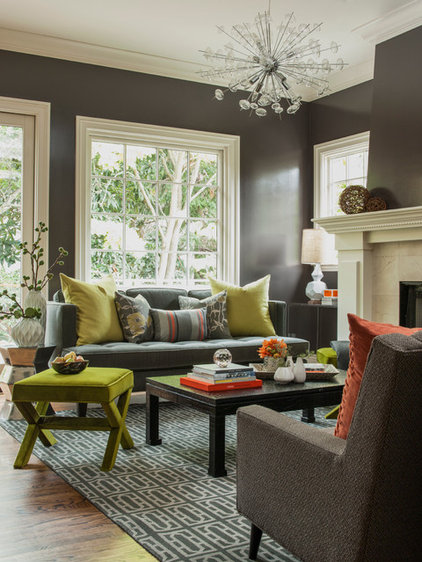
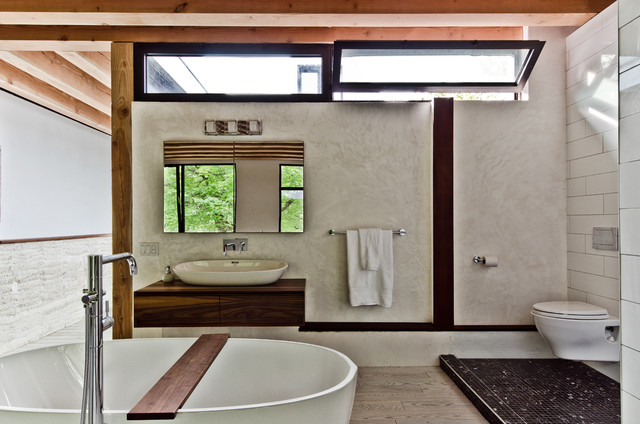
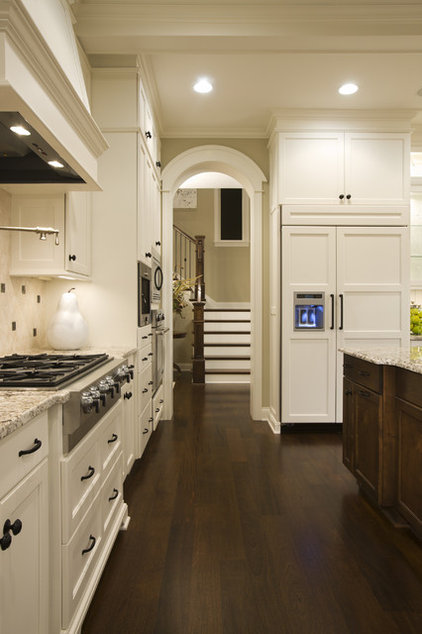
This shot makes use of two key
tips I've mentioned so far — a low angle and showing a small part of the
room without the distortion of a wide-angle lens.
|
5. Turn off your flash. Even
basic point-and-shoot cameras are getting better at low-light
situations, and your camera's flash will never be able to light a room
well. With your camera on a steady tripod, you can have a long exposure
and a natural-light feeling to the photo without getting a blurry shot.
If you do not want the photo to be blurry during the long exposure, put
the self-timer on and let the camera settle.
|
|
Shot straight on without a flash,
this photo feels warm and inviting. The time for this natural light is
usually about 20 minutes after the sun sets. The light level needs to be
just right — from the inside light to the last bits of daylight — to
get this glowing-lantern feeling.
|