How to Install a Tile Backsplash
Little details make huge differences, and a tile backsplash is one
of those little details. A backsplash not only looks great, but it also
protects your walls. With some basic tiling skills and a little
practice, transforming your kitchen could be one weekend project away.
Skill level: Medium to advanced. You should be comfortable with basic power tools, such as drills and saws. Also, make sure you have a good understanding of the numbers on your tape measure. Most of the work simply requires patience and a steady hand, so take your time.
Time: 2 to 3 days
Cost: $10 to $25 per square foot
General tip: If you haven't set tile before, practice setting a few rows of tiles on a scrap of plywood until you can achieve consistent grout lines and levels.
Safety tips: Always wear safety glasses when cutting tiles and gloves when handling cut tile. Use caution with all power equipment.
More: When to consider hiring a pro
Materials and Tools
Tile: To figure out the amount of tile you’ll need, measure the square footage of your backsplash, then add 10 to 20 percent to that total — this will account for waste from trimming or breakage.
Adhesives: For most applications, the best adhesive will be thinset, which bonds to drywall, plaster and just about any other porous surface. Thinset is a cement-based adhesive that penetrates the wall as well as the porous back side of the tile. It works well with porcelain, ceramic and glass tile. If you’ve chosen glass tile, use a white adhesive.
Tile spacers: Tile spacers, which will help keep tiles straight and even on the wall, come in all shapes and sizes. These spacers can be found with the tile in your local hardware store. Keep it simple when picking out a spacer to use — if you’ve chosen a sheet of small tile, make sure your spacers fit the layout of your sheet.
Notched trowel: A trowel is used to apply the adhesive to the surface being tiled. It can be found in the tile or flooring department of your local hardware store. It's usually a good idea to have a small-margin trowel and a larger notched trowel.
Grout: Pick a color that complements your tile (it's usually best to avoid an exact color match) and one that will be easy to keep clean — stay away from bright white, unless you just love scrubbing. I recommend using a premixed grout that already has a sealer mixed in. Topical sealers will work, but premixed grout saves you a step. You'll need a grout sponge and a grout float or trowel too.
|
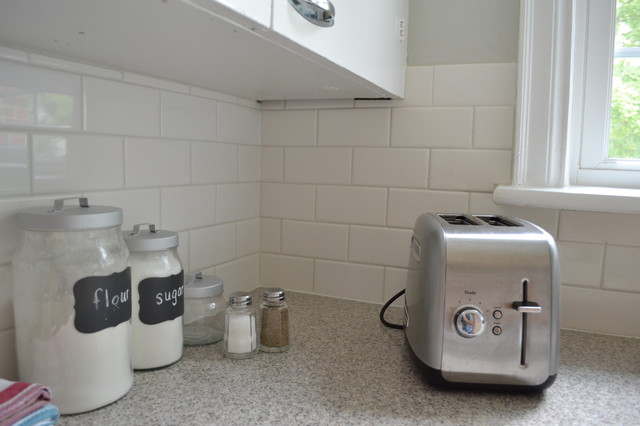
When picking out backsplash tile,
look for something simple, small and neutral. Small tiles often come in
sheets, making them easier to install, and can be cut with tile snips,
which are much more DIY friendly than a large wet saw.
Most tiles can be cut using a scoring process. This is time consuming, and results will vary based on the tile material. Using a scoring knife from a tile supply store and a straight edge, simply score your cut three to five times and apply pressure to the outside edges of the tile to break the tile at the score. If you go with larger tiles that needs to be cut with a wet saw, consider hiring a professional to cut them for you. |
|
When you've got all your materials and tools, follow these steps.
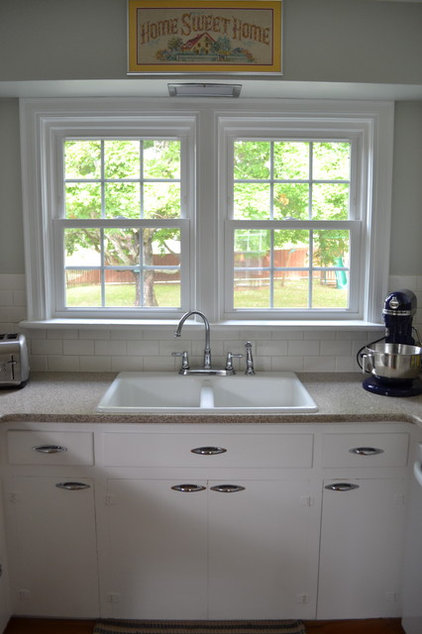
1. Pick a pattern. If you’ve chosen tile sheets, then your pattern is set for you. If you want to go with subway tile, lay your tile in a brick pattern. Use tile spacers to help keep your pattern symmetrical. 2. Find a starting point. In most kitchens the center of the sink is a good place to start. You want to start in the center and work your way out — this gives you better symmetry when you make it to the ends. This was the starting point we used for this particular backsplash. From here we worked our way around the kitchen. |
|
3. Do prep work. It’s a
good idea to apply a bead of silicone caulk to the seam between your
wall and your countertop. This acts as a backup line of protection if
water were to ever get behind your tile. It’s not a do-or-die step,
however.
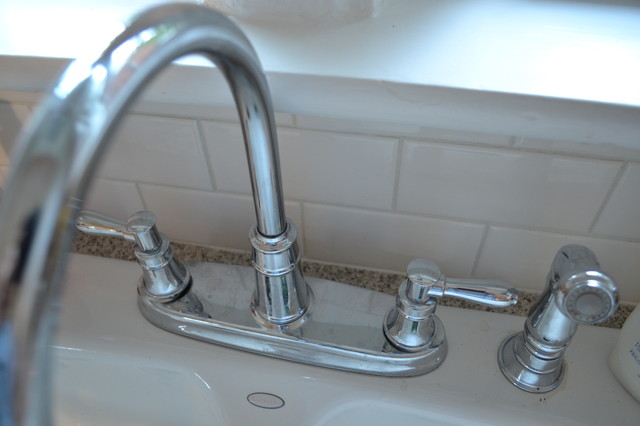
Here, you can see that the bottom edge of the tile was sealed with a white silicone caulk after the tile was grouted to keep water from getting behind the cabinets and causing damage. Next, turn off the circuit breaker and make sure that none of the outlets or switches are live. Then remove any electrical wall plates. Unscrew the switches and outlets and pull them out of the boxes. Do not disconnect the wires! You just want enough room to be able to work your tile around the box. |
|
4. Apply the adhesive. Make
sure you can see your center-line starting mark; apply adhesive from
that point. Check the working time on the container, but it’s usually OK
to spread enough to apply a few tiles (or sheets) on your first row.
This first row will sit on your countertop.
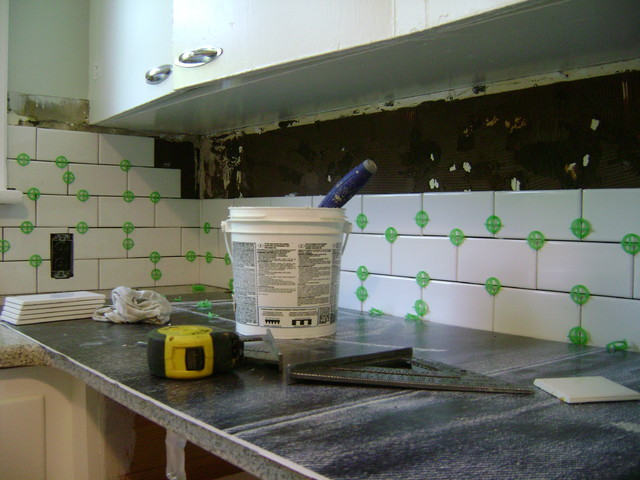
5. Install the tile. Beginning from your center line, press the tile up against the wall firmly. This creates suction that will hold your tile in place until the adhesive has fully cured. As you work your way around the kitchen, make sure to plan ahead for any cuts you have to make. It’s a good idea to use a pencil and a speed square (a right-angle tool that helps to give you a straight line) to mark your cuts before you make them. Do your best to cover the cut edge and always leave the factory edge exposed. Once you’ve installed the tile, go back and remove any adhesive that has pushed up into your grout lines — you don’t want this showing when you grout your tile. In this picture, tile spacers are being used to apply the tile in a brick pattern. Notice the adhesive, the tape measure and the speed square — make use of these during installation! |

6. Grout and clean. After
your tile has been installed for 16 to 24 hours (or whatever the
adhesive container specifies), you can go back and begin grouting.
Remove all the spacers and clean off any dried adhesive on the face of
the tile.
Work the grout in at an angle. In this picture, grout is being applied with a standard-margin grout trowel. Apply it with the trowel angled toward the wall, moving in a diagonal pattern. Clean off the excess grout with a sponge and work a 3- to 5-foot area at a time. Once you’ve finished grouting, run a clear bead of silicone along the bottom edge of the tile.
Let all of this dry for 24 hours before you go back and replace your electrical outlets, switches and covers. If you are using a penetrating sealer, make sure to check the container for the time frame for applying.
|
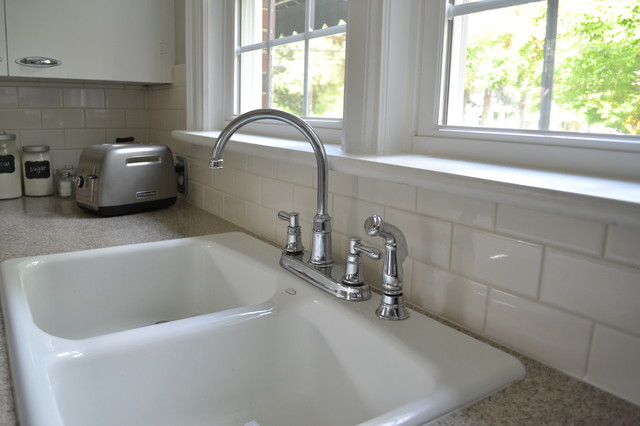
Notice here how the brick pattern
continues through the corner; the lines stay the same. Take your time,
follow these simple steps, and ask questions when you buy your supplies.
A tile backsplash makes a huge difference in the look and feel of any kitchen. And once you've completed this project in your kitchen, go take a look at your bathroom vanity. The possibilities are endless. |
